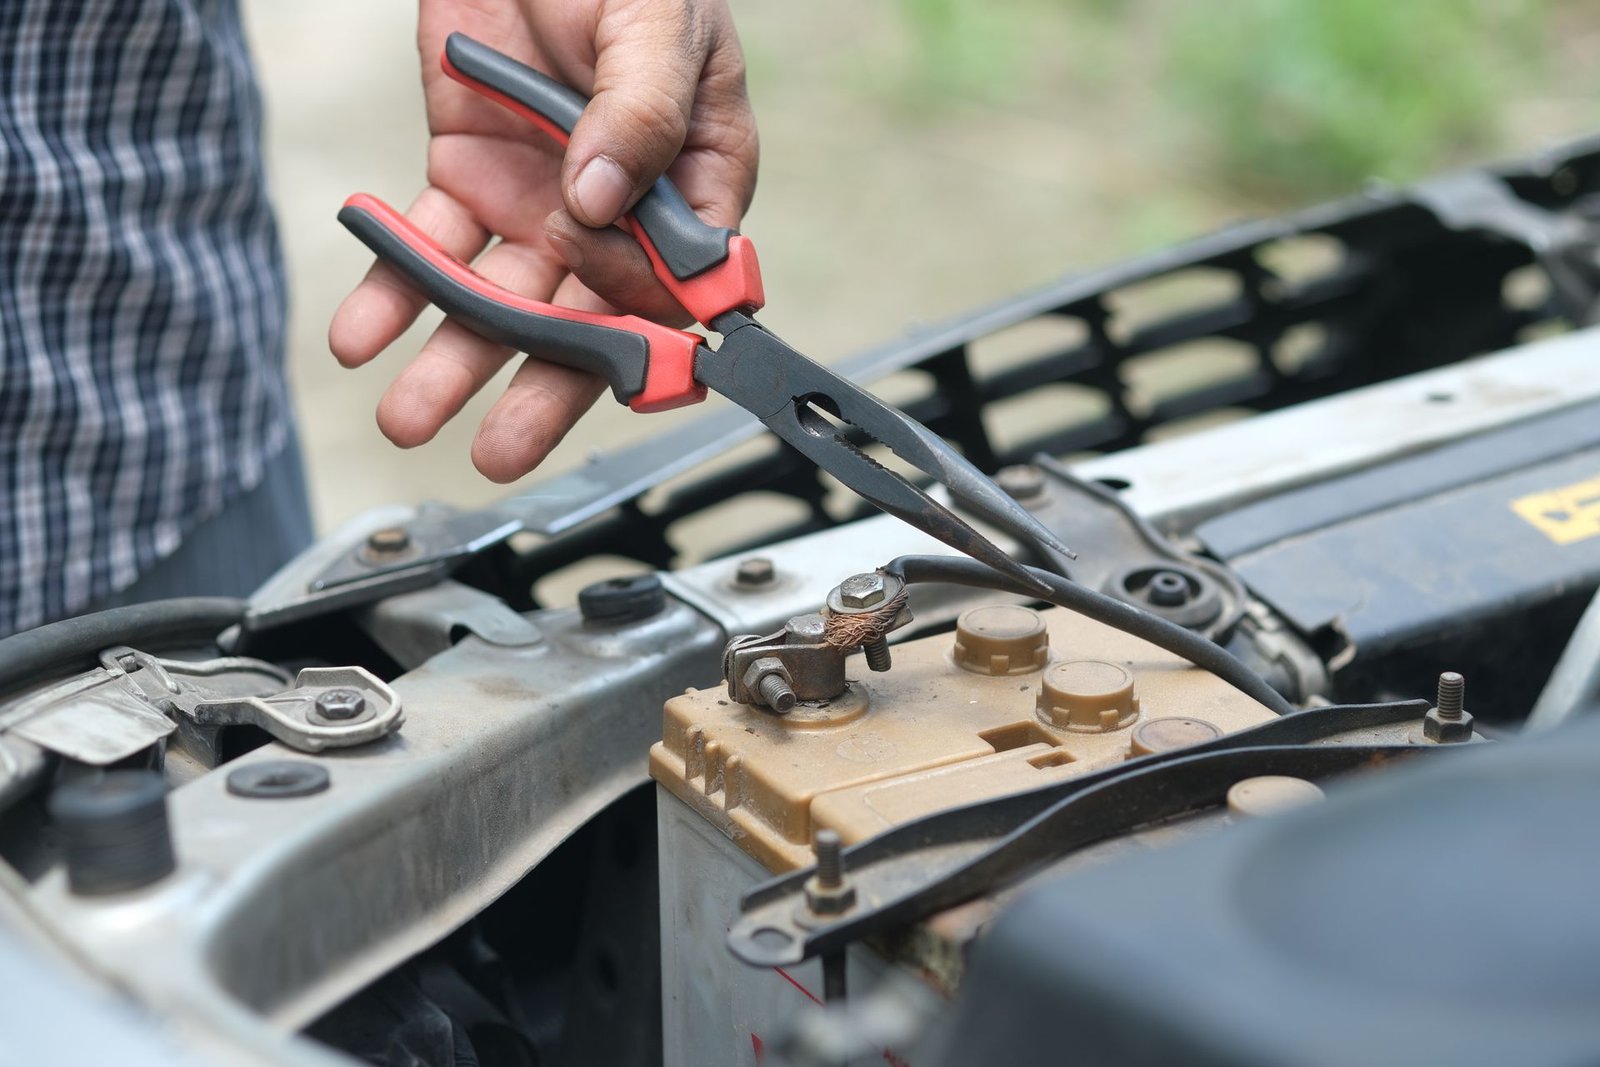
Replacing a car battery is one of the easiest DIY car repairs you can do — and it saves you $20–$100 in labor. No specialty tools, no lift, no professional experience required. Just 15 minutes and a basic socket wrench.
This guide walks you through the exact process, in order, with the safety rules that professionals use. Follow the steps exactly — especially the order of disconnecting the terminals — and you'll avoid the mistakes that cause sparks, fried electronics, or worse.
Before You Start
Make sure you have everything ready before you begin:
- Correct replacement battery. Match the group size, CCA rating, and technology (AGM, EFB, or Lead-Acid) of your original. See our 2026 US battery cost guide to know what to buy and how much to pay.
- Confirm the battery is actually the problem. Don't replace a battery that's fine — test it first with our multimeter testing guide.
- Park on a level surface. Turn off the engine and remove the key from the ignition.
- Wait 10 minutes. This lets any residual power drain from the electrical system.
Tools & Materials You Need
| Item | Typical US Price (2026) | Where to Buy |
|---|---|---|
| Socket Wrench Set (10mm, 13mm, 5/16") | $20 – $40 | Harbor Freight, Home Depot, Amazon |
| Safety Glasses | $5 – $15 | Harbor Freight, Home Depot |
| Work Gloves | $8 – $20 | Harbor Freight, Home Depot |
| Battery Terminal Brush | $5 – $12 | AutoZone, Amazon |
| Felt Anti-Corrosion Washers (2-pack) | $3 – $6 | AutoZone, O'Reilly, Amazon |
| Terminal Protector Spray | $5 – $10 | AutoZone, Amazon |
| Optional: Memory Saver | $15 – $30 | Amazon, Harbor Freight |
| Optional: Torque Wrench | $40 – $80 | Harbor Freight, Amazon |
Step 1: Turn Off the Engine and Put on Safety Gear
Turn off the engine, remove the key from the ignition, and wait at least 10 minutes. Put on your safety glasses and gloves.
⚠️ Never wear jewelry, watches, or metal rings when working on a battery. If metal touches both terminals at once, you'll create a dead short — causing sparks, burns, or a battery explosion.
Step 2: Disconnect the NEGATIVE (-) Terminal FIRST
This is the single most important safety rule. Always disconnect the negative terminal first.
- Locate the black cable with the "-" or "NEG" marking.
- Using your wrench, loosen the nut on the terminal clamp.
- Once loose, wiggle the clamp and pull it off the battery post.
- Tuck the cable away from the battery so it can't accidentally touch any metal.
Step 3: Disconnect the POSITIVE (+) Terminal
Now that the negative is safely disconnected, remove the positive terminal:
- Locate the red cable with the "+" or "POS" marking.
- Loosen the nut on the terminal clamp.
- Remove the clamp and tuck the cable away from the battery.
Step 4: Remove the Battery Hold-Down Clamp
The battery is secured to the tray by a metal bar, bracket, or strap. Locate it — usually at the base or across the top of the battery.
- Using the appropriate socket (usually 10mm or 13mm), loosen the bolts holding the clamp.
- Set the bolts and clamp aside where they won't get lost.
- If there's a thermal blanket or plastic cover around the battery, remove and set it aside too.
Step 5: Lift Out the Old Battery
Car batteries weigh between 30 and 50 lbs. Lift carefully:
- Grab the battery with both hands — usually by the built-in plastic handles or the base.
- Lift it straight up out of the tray. Do not tip it — you don't want acid leaking.
- Set it on a stable surface, not on the ground where you'll trip over it.
Step 6: Clean the Battery Tray and Terminals
This step prevents future connection problems. Use a wire brush or terminal brush to clean:
- The battery tray itself (remove any debris or corrosion)
- The inside of both cable clamps (the red and black connectors)
- The new battery posts (if they have any shipping grease on them)
Then apply two layers of protection:
- Place a felt anti-corrosion washer on each battery post (red on positive, green or black on negative). These are $3–$6 at AutoZone or Amazon and are standard practice at every US auto shop.
- After the cables are reconnected, spray the terminals with a terminal protector spray ($5–$10). This seals out moisture and prevents the white/blue corrosion that kills connections over time.
Step 7: Install the New Battery
- Lower the new battery into the tray with the positive and negative posts matching the original orientation. This matters — reversing them can cause serious electrical damage.
- Reinstall any thermal blanket or plastic cover you removed in Step 4.
- Reinstall the hold-down clamp and tighten the bolts securely. The battery should not move at all.
Step 8: Reconnect the POSITIVE (+) Terminal FIRST
On installation, the order is reversed: positive first, negative second.
- Reconnect the red POSITIVE (+) cable. Tighten the nut firmly — but don't overtighten or you'll crack the battery post.
- Then reconnect the black NEGATIVE (–) cable. Tighten the nut firmly.
- Give each terminal a firm wiggle test — neither should move.
Step 9: Perform a BMS Reset (If Needed)
This is the step most DIYers miss — and it can cost you a battery.
Modern US vehicles (BMW, Mercedes, Audi, and most 2018+ models) have a Battery Management System (BMS) that tracks the age and health of your old battery. After installing a new one, the BMS still thinks it's charging the old battery — so it can overcharge the new one, causing premature failure and a "Check Charging System" warning light.
- BMW (most 2007+ models)
- Mercedes-Benz (most 2010+ models)
- Audi (most 2010+ models)
- Ford (most 2018+ models with start-stop)
- Chevrolet / GMC (most 2019+ models with start-stop)
- Toyota / Lexus (some hybrids and 2020+ models)
Cost to have it done: $20–$50 at any US shop.
DIY option: Perform the reset yourself with an OBD2
scanner (procedure varies by brand — check your owner's manual or a
brand-specific forum).
For a deeper explanation, see our AGM vs. Lead-Acid guide, which covers the BMS reset in more detail.
Step 10: Test the New Battery
Start the engine. It should fire up immediately with a strong crank. Then verify the alternator is charging properly:
- With the engine running, connect your multimeter (red on +, black on –).
- You should see 13.7V – 14.7V. This confirms the alternator is charging the new battery.
- If you see below 13V, your alternator may be failing — take it to a US shop for testing.
Need a refresher on how to use the multimeter? See our step-by-step testing guide.
After Replacement: Common Quirks (Not Problems)
When you disconnect a car battery, the ECU (engine computer) loses its short-term memory. Expect one or more of these harmless quirks for the first 10–50 miles of driving:
🕐 Clock and radio presets are gone
Completely normal. Reset the clock manually and re-save your radio stations. On older vehicles (pre-2010), you may also need to re-enter an anti-theft radio code — check your owner's manual for the code.
🪟 Power windows don't auto-up anymore
Many US vehicles need to "re-learn" the auto-up/down function after a battery disconnect. Procedure (for most brands): roll the window all the way down, hold the button for 5 seconds, then roll it all the way up and hold for 5 seconds. Repeat for each window. Some cars also need the sunroof re-taught the same way.
🌡️ Engine idles rough or shifts oddly for a few miles
The ECU is relearning your fuel trims and idle settings. Drive normally for 10–50 miles (mix of city and highway). It will smooth out on its own. If it persists past 100 miles, have a shop scan for codes.
🔔 "Traction Control" or "Stability" light is on
Common on many US vehicles after a battery disconnect. Usually clears itself after driving a short distance and turning the steering wheel lock-to-lock once. If it stays on past a few drive cycles, have it scanned.
🎛️ Heated seats, mirror memory, or seat memory stopped working
These features store positions in the ECU's volatile memory. Re-set them manually — the car will remember them again on the next key cycle.
Don't Forget: Return the Old Battery for a Core Charge Refund
Every US auto parts retailer (AutoZone, O'Reilly, Advance Auto Parts, Walmart) charges a $10–$25 core charge when you buy a new battery. You get that money back when you return the old battery.
Frequently Asked Questions
How long does it take to replace a car battery?
Typically 15 to 30 minutes for a first-timer. With experience, it takes as little as 10 minutes.
Do I need to disconnect the negative or positive terminal first?
Always disconnect the NEGATIVE (–) terminal first when removing a battery, and reconnect the POSITIVE (+) terminal first when installing a new one.
Why is my clock and radio reset after replacing the battery?
Disconnecting the battery cuts power to the radio, clock, and ECU memory. You'll need to reset the clock, re-enter radio presets, and possibly re-enter an anti-theft radio code on older vehicles. This is normal and expected.
Do I need to reset the computer after replacing my car battery?
Not always, but many modern US vehicles (BMW, Mercedes, Audi, and most 2018+ models) require a Battery Management System (BMS) reset. Skipping this can cause the alternator to overcharge the new battery.
What do I do with the old car battery?
Return it to the store where you bought the new one. Every US auto parts retailer charges a $10–$25 core charge when you buy a new battery — you get that money back when you return the old one.