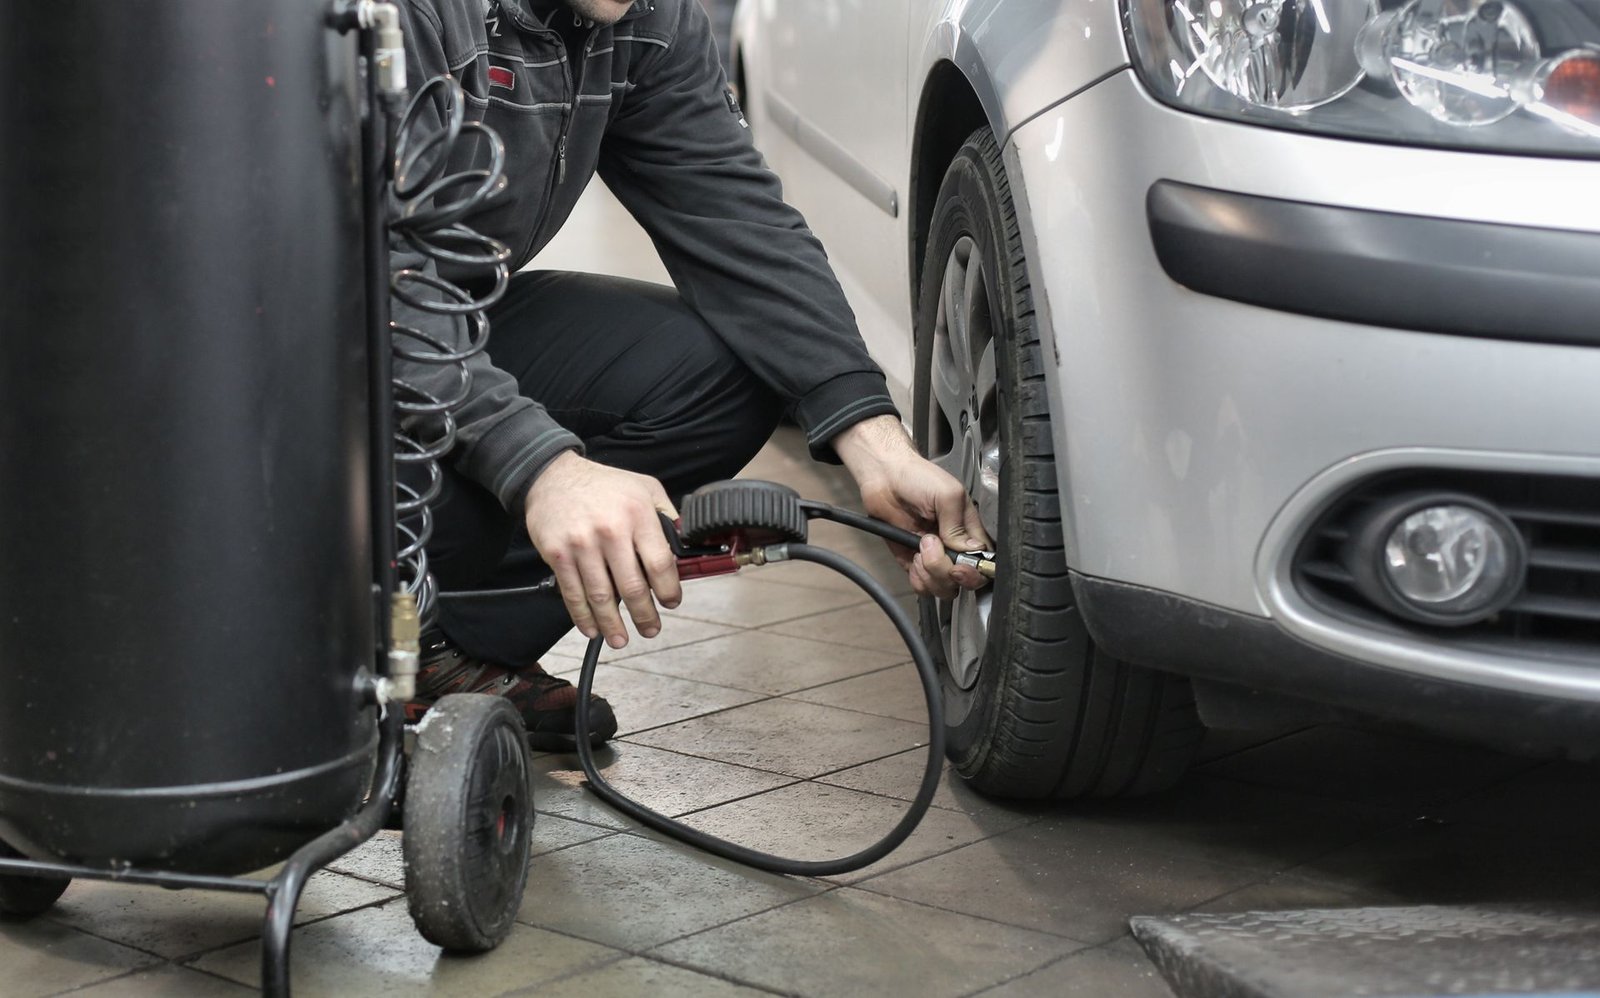
Tire pressure is the most ignored maintenance item on any car — and the one with the best return on investment. Properly inflated tires last 20% longer, improve fuel economy by 3%, and make your car safer in every emergency maneuver.
The entire check takes 5 minutes and requires just a $5–$15 gauge. Here's exactly how to do it right.
Why Tire Pressure Matters
Under-inflated tires are the #1 cause of preventable tire failures in the US. Here's what happens when your tires run low:
| Pressure Level | Effect | Cost Impact (Annual US) |
|---|---|---|
| Correct pressure | Optimal handling, even wear, best fuel economy | Baseline |
| 5 PSI low | Slightly reduced fuel economy, faster wear | +$50/year in fuel |
| 10 PSI low | Poor handling, uneven wear, overheating risk | +$150/year + early tire replacement |
| 20 PSI low | Dangerous handling, blowout risk at highway speed | +$300/year + safety hazard |
| Over-inflated | Center tread wear, harsh ride, less grip | Early tire replacement |
Recommended Tire Pressure by Vehicle Type
Your exact PSI is on the sticker on the driver's side door jamb. But here's the general range by vehicle type:
| Vehicle Type | Typical PSI Range | Examples (US) |
|---|---|---|
| Compact sedans | 30 – 33 PSI | Honda Civic, Toyota Corolla, Mazda 3 |
| Mid-size sedans | 32 – 35 PSI | Honda Accord, Toyota Camry, Hyundai Sonata |
| SUVs and crossovers | 35 – 40 PSI | Rav4, CR-V, Explorer, Pilot |
| Pickup trucks | 35 – 45 PSI | F-150, Silverado, Ram 1500 |
| Heavy-duty trucks | 50 – 80 PSI | F-250, Silverado 2500, Ram 2500 |
| EVs | 36 – 44 PSI | Tesla Model 3/Y, Mach-E, Ioniq 5 |
Tools You Need
You need exactly two things — a gauge and access to air. Here are your US options:
| Tool | US Price | Where to Buy |
|---|---|---|
| Digital tire pressure gauge | $8 – $20 | Amazon, AutoZone, Walmart |
| Analog (stick) gauge | $3 – $8 | Amazon, AutoZone, Walmart |
| Portable air compressor | $30 – $80 | Amazon, Harbor Freight |
| Gas station air pump | $0.50 – $1.50 per use | Most US gas stations |
Step 1: Find the Recommended PSI for Your Vehicle
Look for a sticker in one of these three places:
- Driver's side door jamb — open the door and look at the vertical metal edge. This is the most common location.
- Inside the fuel door — some US vehicles put the sticker here.
- Owner's manual — check the tire section if you can't find a sticker.
The sticker will list recommended PSI for front and rear tires separately — they're sometimes different. Write these numbers down.
Step 2: Check Tires When They're COLD
"Cold" means the tires haven't been driven on for at least 3 hours — or you've driven less than 1 mile. This matters because driving heats the air inside the tire, raising pressure by 3–5 PSI.
If you must check warm tires (e.g., at a gas station mid-trip), add 3–5 PSI above the recommended number. Then re-check when cold the next morning.
Step 3: Read the Gauge on Each Tire
- Unscrew the black plastic valve cap from the tire's valve stem (the small metal nub near the rim).
- Press the tire pressure gauge firmly onto the valve stem. You'll hear a brief hiss of air — that's normal.
- Hold the gauge steady for 2–3 seconds.
- Read the number on the display.
If the gauge doesn't read, you're not pressing hard enough or you're slightly off-center. Reposition and press again.
Step 4: Record the Number for Each Tire
Write down the PSI for all four tires (and the spare, if you have one) before adding any air. This tells you which tires are losing pressure and how fast.
Step 5: Add or Release Air
Compare your readings to the recommended PSI from Step 1:
- Under-inflated: Add air at a gas station or with your own compressor. Add in short bursts and re-check after each burst — it's easy to overshoot.
- Over-inflated: Press the small metal pin inside the valve stem with the tip of your gauge or a key to release air. Do it in short bursts too.
- Correct: Move to the next tire.
Step 6: Replace the Valve Cap
Screw the black valve cap back on tightly. The cap isn't just cosmetic — it keeps dust, dirt, and moisture out of the valve, which can cause slow leaks.
Repeat for all four tires. If you have a spare, check that one too — especially before a long road trip.
Properly inflated tires last longer and save you $200+ per year. If you ever get a flat, see our step-by-step tire change guide. And before a long road trip, review our jump start guide for emergencies.
Understanding the TPMS Warning Light
Since 2008, every new US car has a Tire Pressure Monitoring System (TPMS). It triggers a dashboard warning when any tire drops below ~25% of the recommended PSI.
Common reasons the TPMS light comes on:
- A tire is genuinely low on pressure
- Temperature dropped sharply overnight (cold shrinks air)
- A slow leak (nail, bad valve, corroded rim)
- TPMS sensor battery is dead (lasts 7–10 years)
- Sensor is damaged from a tire rotation or pothole
5 Mistakes to Avoid
- Using the tire sidewall PSI. That's the tire's maximum — not your car's recommended. Always use the door jamb sticker.
- Checking when tires are hot. Your reading will be 3–5 PSI higher than cold. Always check cold, or adjust your target PSI up.
- Only checking one tire. Even on a new car, tires wear and leak at different rates. Check all four, plus the spare.
- Forgetting to replace the valve cap. Missing caps allow dirt into the valve — the #1 cause of slow leaks.
- Ignoring the TPMS light. A steady light means an actual low tire. Driving on it can cause a blowout at highway speed.
Frequently Asked Questions
How often should I check my tire pressure?
Check at least once a month — and always before a long road trip. Tires lose about 1 PSI per month naturally, and up to 2 PSI for every 10°F drop in temperature. In cold US states, check more often in fall and winter.
What PSI should my tires be?
Most passenger cars need 30–35 PSI, SUVs and trucks need 35–40 PSI. The exact number is on the sticker on your driver's side door jamb — always use that number, NOT the max PSI molded on the tire's sidewall.
Should I use the PSI on the tire or the door jamb?
Always use the door jamb PSI (or owner's manual). The number on the tire's sidewall is the tire's maximum safe pressure — not the recommended pressure for your specific vehicle.
Is it OK to check tire pressure when tires are warm?
You can, but the reading will be 3–5 PSI higher than cold. If you must add air to warm tires, add 3–5 PSI above the recommended cold PSI, then re-check when cold the next morning.
Why does my tire pressure warning light keep coming on?
Common causes: a tire is genuinely low, temperature dropped sharply overnight, a slow leak (nail, bad valve), a dead TPMS sensor battery, or a damaged sensor. Check the actual pressure with a gauge first — TPMS sensors can also give false readings.